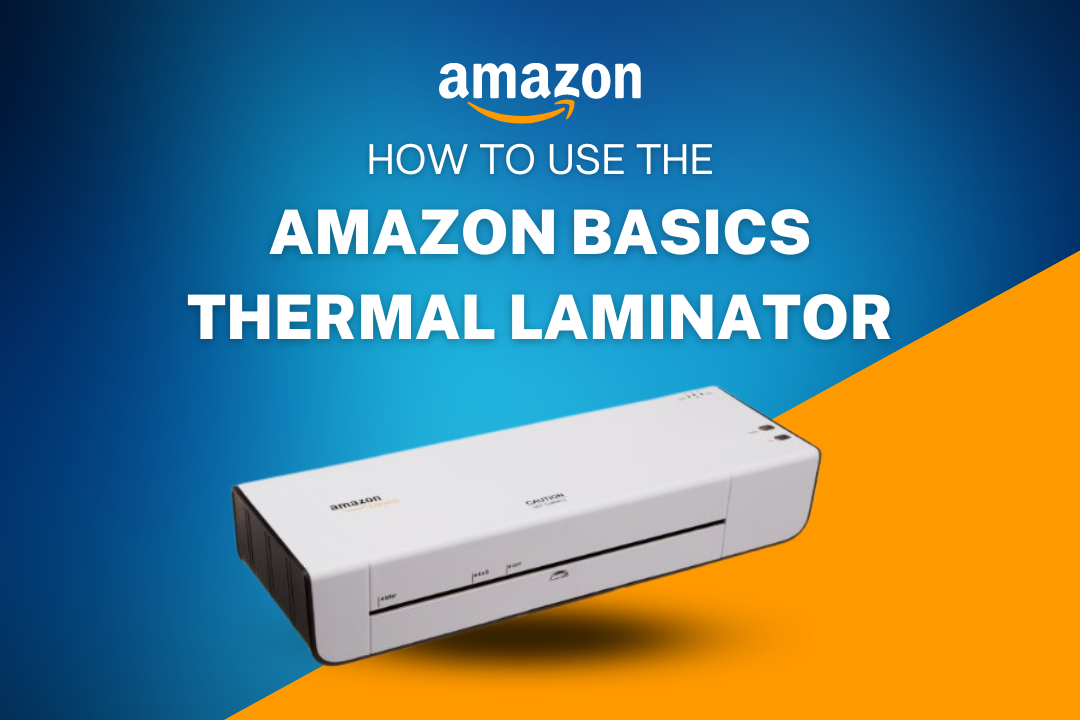
The Amazon Basics Thermal Laminator is a versatile, user-friendly device ideal for protecting and preserving documents, photos, and other paper-based items. Laminating provides a durable seal, enhancing the longevity of materials and making this device a perfect tool for home and office use. In this comprehensive guide, we’ll walk you through the process of using the Amazon Basics Thermal Laminator and give you tips for best results.
Table of Contents
ToggleUnboxing and Initial Setup
When you first unbox your Amazon Basics Thermal Laminator, you’ll find the machine and a starter set of laminating pouches. The laminator is compact and lightweight, making it easy to transport. It’s crucial to follow these initial steps for a smooth experience:
- Plugging in the Laminator: First, place the laminator on a flat, stable surface. Then, plug it into a nearby power outlet.
- Selecting the Right Settings: The laminator has two temperature settings: 3-mil pouches (thinner) and 5-mil pouches (thicker). Choose the appropriate setting based on the pouch thickness.
Pros: Easy to set up and lightweight, perfect for quick use.
Cons: Limited pouch thickness options may not suit heavier-duty lamination tasks.
Looking for more tools for business or home use? Check out our services at EcommStars for solutions to enhance productivity.
Understanding Laminating Pouches
Laminating pouches are plastic sheets that encapsulate the material you want to protect. They come in various sizes and thicknesses. For the Amazon Basics Thermal Laminator, 3-mil and 5-mil pouches are recommended.
- 3-mil Pouches are thinner and more flexible, perfect for everyday documents like worksheets or instruction sheets.
- 5-mil Pouches: These are thicker and more rigid, providing extra protection for items like photographs, certificates, or ID cards.
Before laminating, ensure your document fits snugly into the pouch, leaving even borders around the edges. Learn more about how to handle documents securely with our article on how to categorize Amazon purchases.
How to Use the Amazon Basics Thermal Laminator
Here’s the detailed process to laminate a document using the Amazon Basics Thermal Laminator:
- Preheat the Laminator: Switch on the laminator and wait for it to heat up. The ready indicator light will turn on when the machine is hot enough. It usually takes about 4 minutes to preheat.
- Prepare the Document: Insert your document into the laminating pouch, ensuring that it is centered and that no part of it sticks out from the edges.
- Insert the pouch into the Laminator: Once the laminator is ready, place the sealed end of the pouch into the laminator’s opening. The machine will automatically feed and seal the pouch.
- Wait for the Laminating Process: The document slowly passes through the laminator. Be patient and let the machine do the work. Once it comes out on the other side, give it a few seconds to cool down.
- Trim the Edges (if necessary): After laminating, you can trim the edges of the laminated document if there’s too much excess plastic around it. Always leave a small margin to ensure a secure seal.
Pros: Simple and effective, laminating protects important documents and enhances their durability.
Cons: It takes a few minutes to heat up, and care must be taken to avoid misalignment, which can lead to improper lamination.
For more ways to streamline your document handling, check out our guide on how to view Amazon messages.
Common Mistakes and How to Avoid Them
While laminating is generally a straightforward process, there are a few mistakes that users often make:
- Not Waiting for Preheating: Always wait for the laminator to preheat fully before starting. Inserting a pouch too early may result in weak seals or bubbles.
- Inserting the pouch Incorrectly: The sealed end of the pouch should go into the laminator first. Inserting it the wrong way can lead to jamming.
- Overloading the Pouch: Avoid placing multiple thick items into a single pouch, which can cause uneven lamination.
These mistakes can be easily avoided by following the steps outlined above and ensuring your laminator is set up correctly before use. For more tips on maintaining efficiency, explore how to increase book sales on Amazon.
Additional Tips for Optimal Laminating Results
- Use the Right Pouch Size: Avoid trimming the pouch before laminating. Always use a pouch that fits the document size or is slightly larger.
- Cooling Time: After laminating the document, allow it to cool for a few seconds before handling it to avoid smudging or warping.
- Store Laminated Items Properly: To prevent curling, laminated documents should be stored flat.
If you’re using laminated documents for personal or professional purposes, you may also want to check our guide on selling food on Amazon to protect important business documents.
Maintenance and Care for Your Laminator
Proper care is essential to extend your Amazon Basics Thermal Laminator’s life. Here are a few tips:
- Clean the Rollers: Dust or adhesive can build up on the rollers over time. Clean them periodically using a soft, lint-free cloth.
- Avoid Overheating: Don’t leave the laminator on for extended periods when not in use. Turn it off to prevent overheating and prolong the machine’s lifespan.
- Use Quality Pouches: Low-quality pouches may jam the machine or result in poor seals.
Pros: Proper care ensures consistent laminating performance and extends the laminator’s life.
Cons: Regular maintenance may take some time but is necessary to avoid costly repairs.
For more on maintaining tools for your business, read about how to beat Amazon with strategic practices.
Frequently Asked Questions
How do you use a basic laminator?
To use a basic laminator, insert the document into a laminating pouch, preheat the laminator, and feed the pouch into the machine’s slot, sealed end first. The laminator will automatically seal and laminate the document.
How to unjam an Amazon Basics laminator?
To unjam an Amazon Basics laminator, turn off the machine and use the reverse function to gently back out the stuck pouch. If necessary, open the laminator (if the model allows) and remove the jammed material carefully.
How do you start a laminator?
Plug in the laminator, turn it on, and select the appropriate heat setting (3-mil or 5-mil). Wait for the ready indicator light to signal that the machine has preheated, then start laminating.
How do you use an old-school laminator?
Insert the document into a laminating pouch with an old-school laminator, place it between protective covers or carrier sheets, and feed it through the laminator by turning a manual crank or allowing it to heat and feed the document automatically.
Conclusion
Using the Amazon Basics Thermal Laminator is a simple process that, when done correctly, can provide excellent results in preserving your important documents. This step-by-step guide ensures that your laminating tasks are easy, efficient, and professional. Whether you’re preserving business documents or personal keepsakes, this laminator is a reliable tool to have on hand.
If you want to explore more business tips and Amazon-related guides, check out our blog on flipping Amazon deals or visit our services page to see how we can help you grow your business with Amazon.


